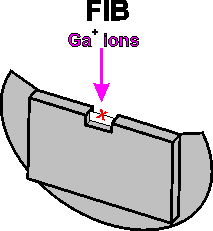
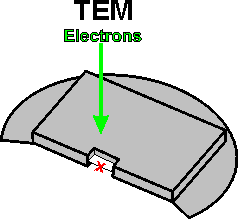
|
How Fibics Prepares an "H-bar" TEM Sample for FIB
Fibics uses an aperture grid or slotted grid with a 1mm hole.
When working with a thin (<~100 microns) grid, we place the grid on
top of a glass slide and use a scalpel to cut away a portion of the grid
(see the image below). When dealing with a thicker grid, we clip off
the top of the grid with a pair of cutters. During both procedures, we
ensure that grid warping is minimal.
|
 |
OR |
 |
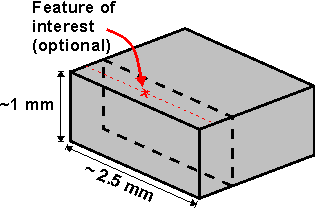
Fibics sections a portion of a specimen to create a slice that is
approximately 1mm x 2.5mm. We ensure that any feature of interest
on the specimen is positioned roughly in the center of the slice (see
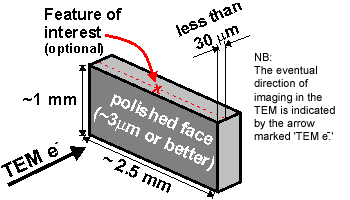
the image below). The slice must be thinned to 60 µm or less, so we
cut a thin slice sample to meet the desired thickness specifications.
We then grind or lap down one face of the sample. If the sample
has a particular feature of interest, then we lap to within 30 µm
of the feature. With or without a specific feature of interest, we
finish the polished face with 3 µm or finer abrasive.
|
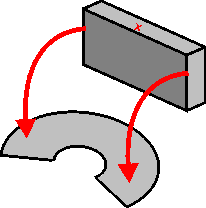
By using a TEM suitable adhesive, such as M-Bond 610 epoxy, we
mount the sample onto the grid with the polished face down. Once the
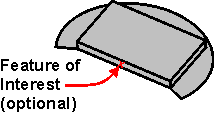
sample is mounted, we use a parallel lapping tool to thin the sample to
less than 60 µm. Any feature of interest on the sample should end up in the
center, as shown in the diagram below. The sample is now ready for the FIB!
|
|


